INSTRUCTIONS FOR VIRTUALBOX USERS |
Before you can create the new VM, you need to have the Chromium ISO setup to be used as a CD-ROM.
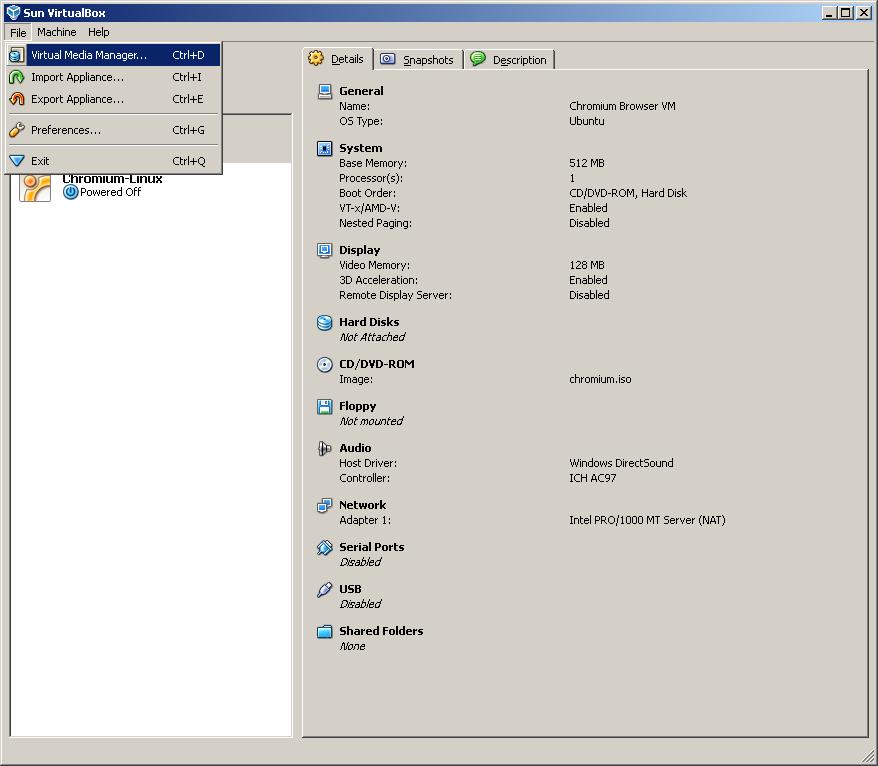
Use the "Virtual Media Manager..." from the File menu to do this.
|
|
|
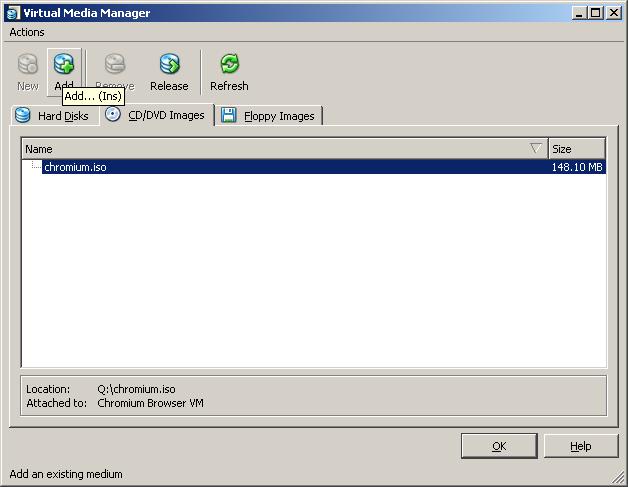
Click on the Add icon.
|
|
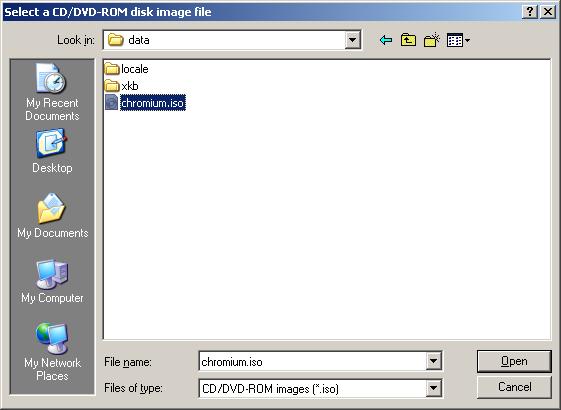
Choose "chromium.iso" in the "data" folder at the location you extracted the VM.zip, or where you downloaded the ISO to.
Click on "Open".
|
|
|
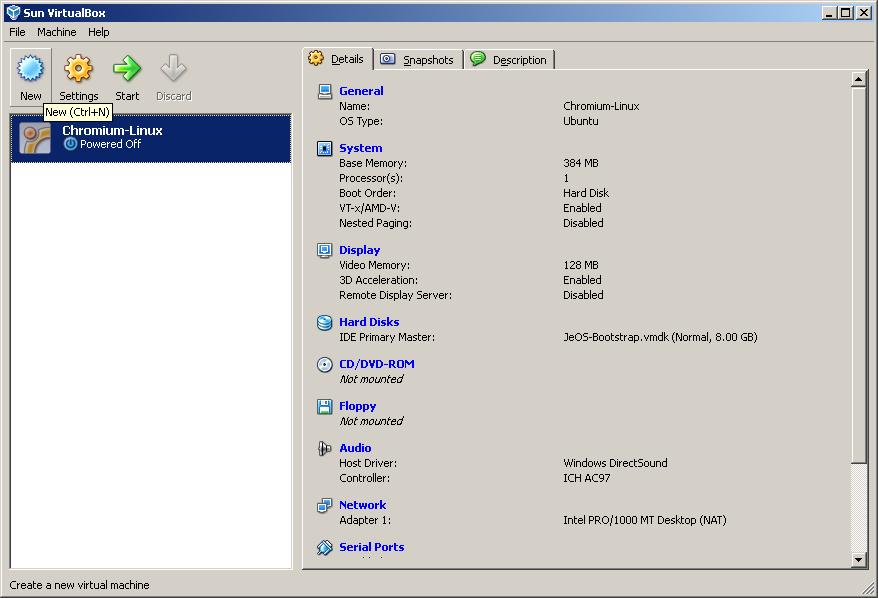
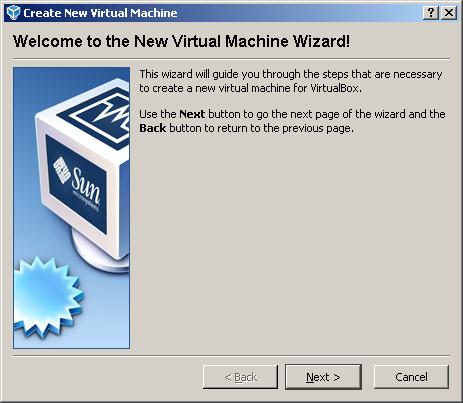
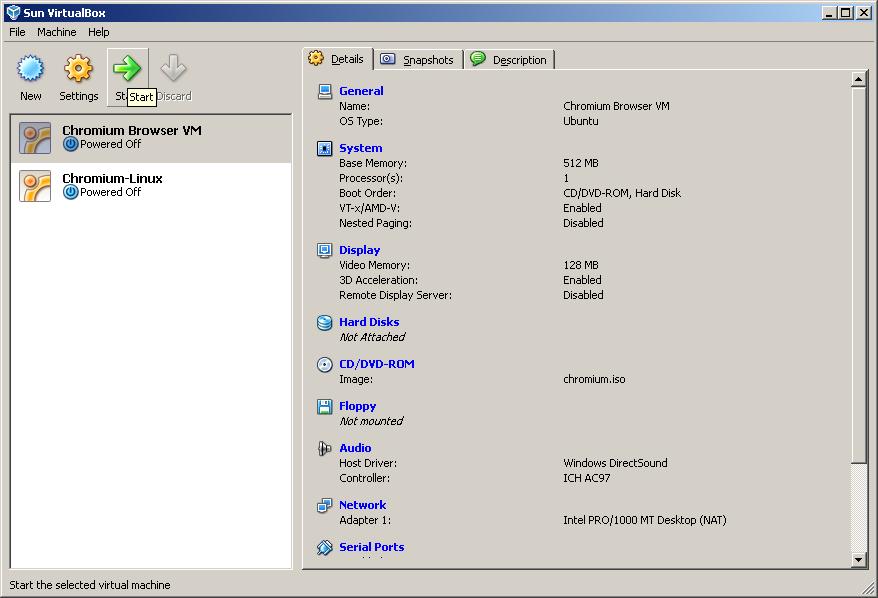
Now you need to make a New VM, so click on the New icon.
|
|
|
Click on Next.
|
|
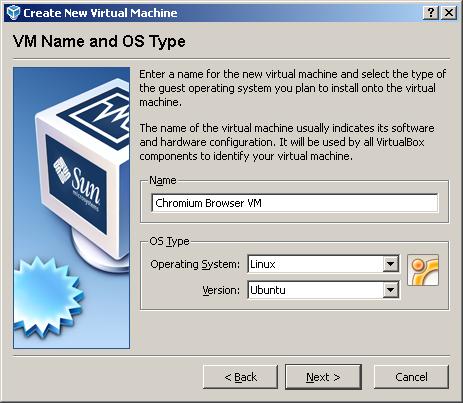
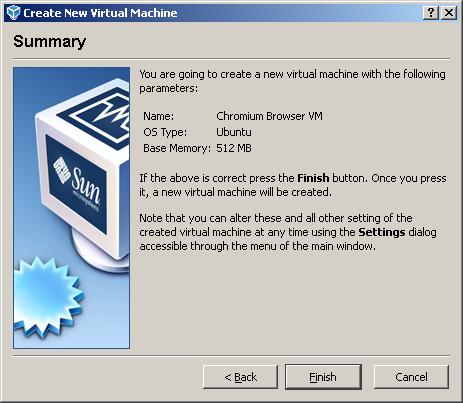
For the Name, use "Chromium Browser VM".
For the OS, use "Linux".
For the Version, use "Ubunut".
Click on Next.
|
|
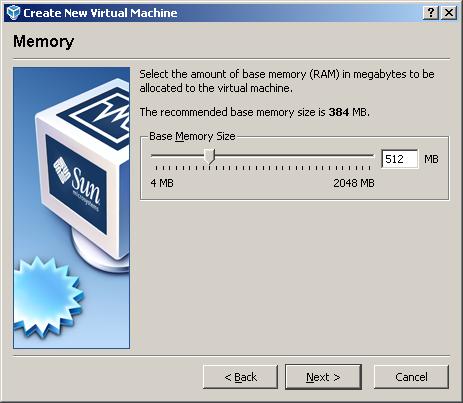
The VM requires at least 256MB of RAM, but 512 or more is recommended.
Set the amount of memory you want to use, then click Next.
|
|
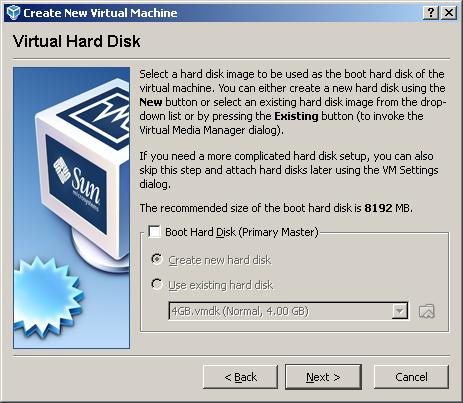
Uncheck the box that says "Boot Hard Disk (Primary Master)", since we are using an ISO for a CD-ROM boot.
Click on Next.
|
|
|
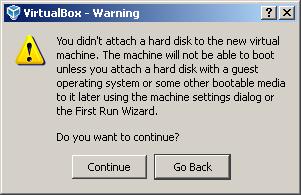
Ignore the warning, click on Continue.
|
|
|
Click on Finish.
|
|
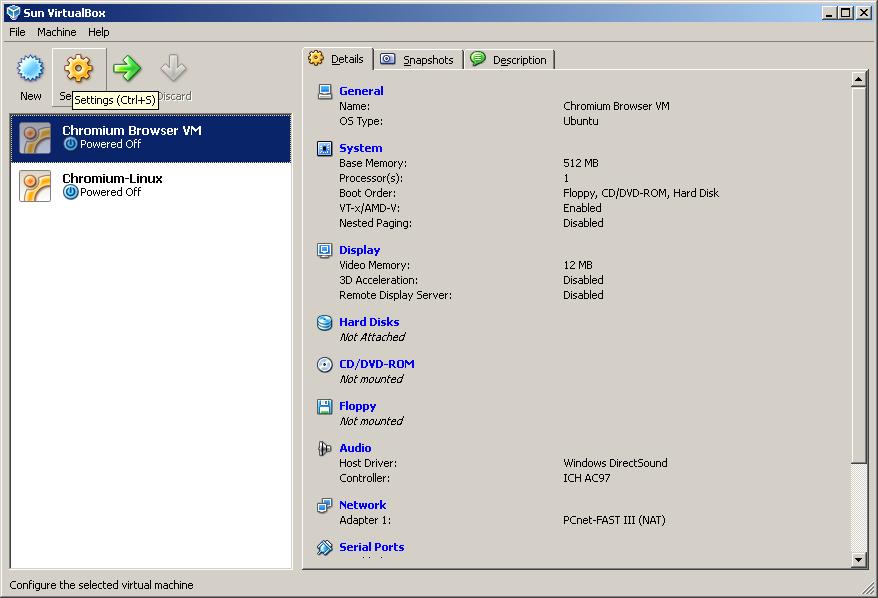
Before we can use our VM, we need to double check a few of the Settings.
Click on the Settings icon.
|
|
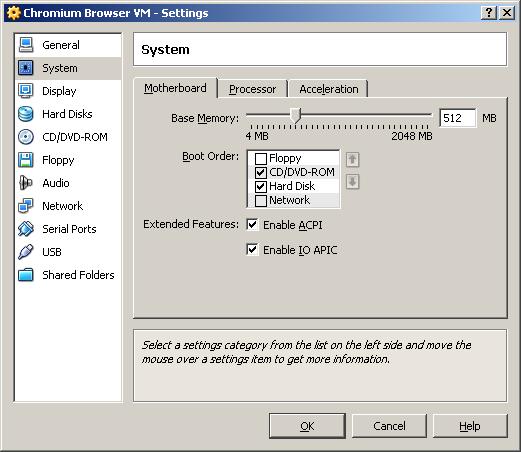
Click on "System" (left side of the window), and make sure the Floppy box is not checked.
Make sure the "CD/DVD-ROM" box is checked.
Make sure the "Enable ACPI" and "Enable IO APIC" are both checked.
|
|
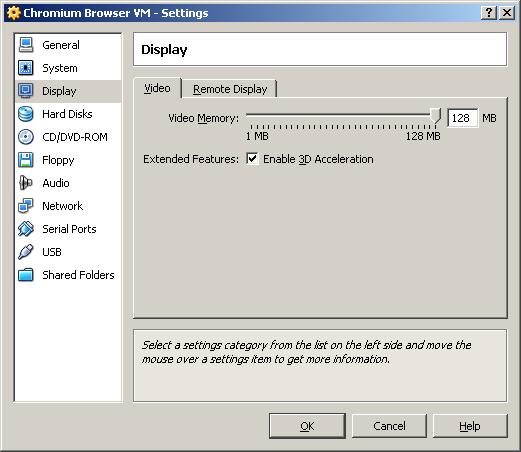
Click on "Display" (left side of the window).
Turn the Video Memory as high as you can. Max it out.
|
|
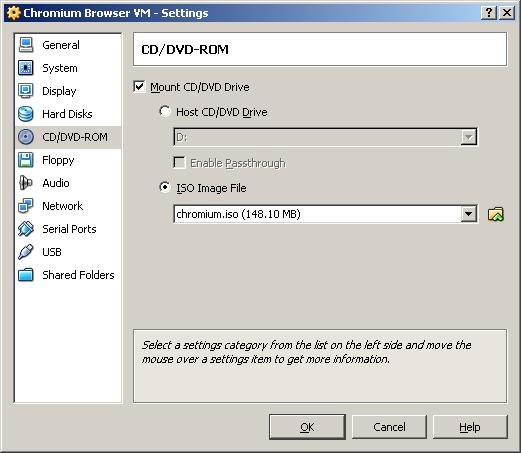
Click on "CD/DVD-ROM" (left side of the window).
Check the "Mount CD/DVD Drive" box.
Select "ISO Image File" and choose "chromium.iso" from the dropdown menu.
|
|
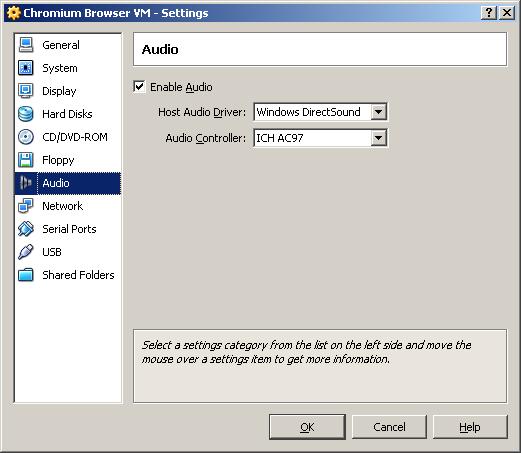
Click on "Audio" (left side of the window).
Make sure the "Enable Audio" box is checked and the correct audio controller is selected.
|
|
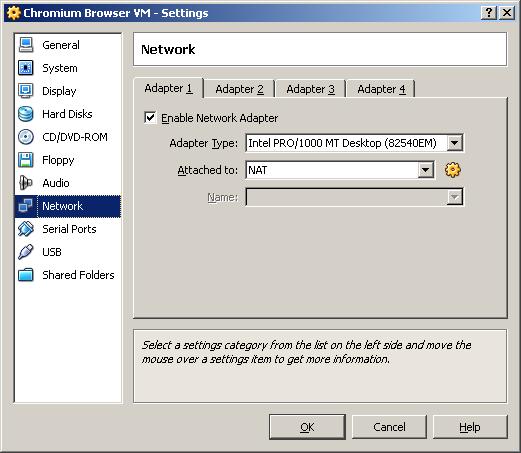
Click on "Network" (left side of the window).
Make sure "Adapter 1" is enabled.
Set the Adapter Type to "Intel PRO/1000 MT Desktop (82540EM)".
Set "Attached to:" to "NAT".
|
|
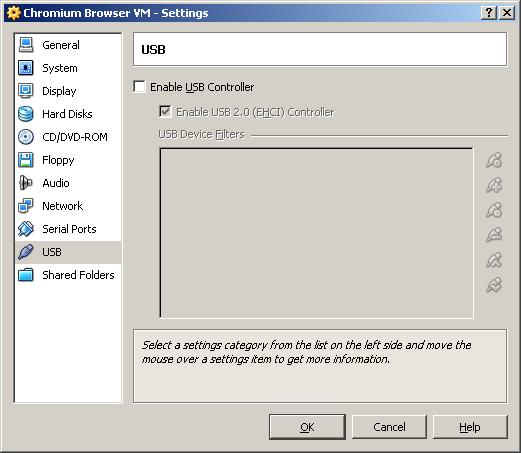
Click on "USB" (left side of the window).
Uncheck (disable) the "Enable USB Controller". We don't use it.
Then click on "OK".
|
|
Make sure you have started Xming (for Windows users) or allowed access to your X session through "xhost".
Now go ahead and start your Chromium Browser VM.
|
ENJOY!
|